CSSでカスタマイズしたラジオボタンをSpring Bootで表示してみた
ラジオボタンは、inputタグのtype属性でtype=”radio”を指定することで作成されるが、このタグの標準スタイルは、CSSでオリジナルなレイアウトに変更できる。
今回は、Spring BootのWeb画面上で、CSSでラジオボタンをカスタマイズして表示するサンプルプログラムを作成してみたので、共有する。
前提条件
下記記事の実装が完了していること。

ヘッダー・メニュー・本文・フッターをCSSでデザインしたHTMLをSpring Bootで表示してみた業務で利用するアプリケーションで、ヘッダー・メニュー・本文・フッターを1つの画面に表示することが多々あるが、その際、CSSを利用すること...
サンプルプログラムの作成
作成したサンプルプログラムの構成は以下の通り。
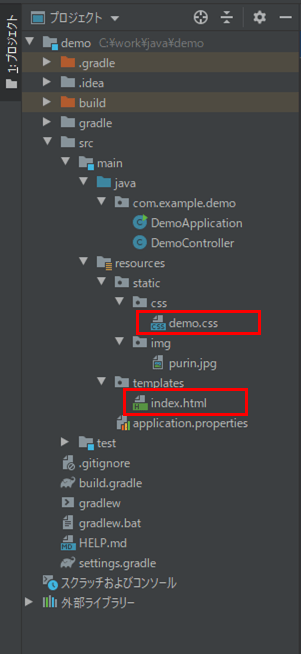
なお、上記の赤枠は、今回変更したプログラムである。
index.htmlの内容は以下の通りで、本文にいろいろなレイアウトのラジオボタンを追加している。
<!DOCTYPE html>
<html lang="ja" xmlns:th="http://www.thymeleaf.org">
<head>
  <meta charset="UTF-8">
  <title>ラジオボタンのカスタマイズ</title>
  <!-- CSSファイルを読み込む -->
  <link th:href="@{/css/demo.css}" rel="stylesheet" type="text/css" />
  <!-- タイトル左のfavicon画像を設定する -->
  <link rel="icon" th:href="@{/img/purin.jpg}">
</head>
<body>
  <header>
    ここにヘッダーを書きます。
  </header>
  <main>
    <div class="container">
      <div class="menu">
        ここにメニューを書きます。幅は30%です。
      </div>
      <div class="main">
        <form action="*" method="post">
          <h3>ラジオボタン(通常)</h3>
          <input type="radio" name="lang1" value="1" id="eng1" checked />
          <label for="eng1">英語</label>
          <input type="radio" name="lang1" value="2" id="jpn1" />
          <label for="jpn1">日本語</label>
          <input type="radio" name="lang1" value="3" id="chn1" />
          <label for="chn1">中国語</label>
          <br/>
          <h3>ラジオボタン(非表示)</h3>
          <input type="radio" name="lang2" value="1" id="eng2"
            class="radio_none" checked />
          <label for="eng2">英語</label>
          <input type="radio" name="lang2" value="2" id="jpn2" class="radio_none" />
          <label for="jpn2">日本語</label>
          <input type="radio" name="lang2" value="3" id="chn2" class="radio_none" />
          <label for="chn2">中国語</label>
          <br/>
          <h3>ラジオボタン(先頭に丸印、チェックマーク無し)</h3>
          <input type="radio" name="lang3" value="1" id="eng3"
            class="radio_none" checked />
          <label for="eng3" class="lbl_circle">英語</label>
          <input type="radio" name="lang3" value="2" id="jpn3" class="radio_none" />
          <label for="jpn3" class="lbl_circle">日本語</label>
          <input type="radio" name="lang3" value="3" id="chn3" class="radio_none" />
          <label for="chn3" class="lbl_circle">中国語</label>
          <br/>
          <h3>ラジオボタン(先頭に丸印、チェックマーク有り)</h3>
          <input type="radio" name="lang4" value="1" id="eng4"
            class="radio_none" checked />
          <label for="eng4" class="lbl_checked">英語</label>
          <input type="radio" name="lang4" value="2" id="jpn4" class="radio_none" />
          <label for="jpn4" class="lbl_checked">日本語</label>
          <input type="radio" name="lang4" value="3" id="chn4" class="radio_none" />
          <label for="chn4" class="lbl_checked">中国語</label>
          <br/>
          <h3>ラジオボタン(オリジナルなレイアウトで動作)</h3>
          <input type="radio" name="lang5" value="1" id="eng5"
            class="radio_none" checked />
          <label for="eng5" class="lbl_origin">英語</label>
          <input type="radio" name="lang5" value="2" id="jpn5" class="radio_none" />
          <label for="jpn5" class="lbl_origin">日本語</label>
          <input type="radio" name="lang5" value="3" id="chn5" class="radio_none" />
          <label for="chn5" class="lbl_origin">中国語</label>
          <br/>
          <h3>テーブル内のラジオボタン(オリジナルなレイアウトで動作)</h3>
          <table>
            <thead>
            <tr>
              <th class="tbl_radio_width"></th>
              <th>タイトル1</th>
              <th>タイトル2</th>
              <th>タイトル3</th>
              <th>タイトル4</th>
              <th>タイトル5</th>
            </tr>
            </thead>
            <tbody>
            <tr>
              <td>
                <input type="radio" name="tbl1" value="1" id="col1"
                  class="radio_none" checked />
                <label for="col1" class="lbl_tbl"></label>
              </td>
              <td>カラム1</td>
              <td>カラム2</td>
              <td>カラム3</td>
              <td>カラム4</td>
              <td>カラム5</td>
            </tr>
            <tr>
              <td>
                <input type="radio" name="tbl1" value="2" id="col2"
                  class="radio_none" />
                <label for="col2" class="lbl_tbl"></label>
              </td>
              <td>カラム11</td>
              <td>カラム12</td>
              <td>カラム13</td>
              <td>カラム14</td>
              <td>カラム15</td>
            </tr>
            <tr>
              <td>
                <input type="radio" name="tbl1" value="3" id="col3"
                  class="radio_none" />
                <label for="col3" class="lbl_tbl"></label>
              </td>
              <td>カラム21</td>
              <td>カラム22</td>
              <td>カラム23</td>
              <td>カラム24</td>
              <td>カラム25</td>
            </tr>
            </tbody>
          </table>
        </form>
      </div>
    </div>
  </main>
  <footer>
    ここにフッターを書きます。
  </footer>
</body>
</html>
また、CSSファイルに追加した内容は以下の通りで、テーブルと各ラジオボタンのレイアウトを追加している。
/* テーブル(本文内)のレイアウト */
main table {
    /* テーブルの上下余白(ボックス外)を20px、
      左右余白(ボックス外)を40pxに設定 */
    margin: 20px 40px;
    /* 隣接するセルのボーダーを重ねて表示する設定 */
    border-collapse: collapse;
    /* カラム数が少なくてもテーブル幅を最大に保つため
      テーブルの幅を(本文全体-左右余白(80px))に設定 */
    width: calc(100% - 80px);
}
main table th, main table td {
    /* テーブルの枠線を設定 */
    border: solid 1px black;
    /* テキストの位置を上下中央揃えに設定 */
    text-align: center;
    vertical-align: center;
}
main table th {
    /* 背景色を紺、文字色を白に設定 */
    background: #000066;
    color: white;
    /* タイトル行の枠線の一部(内側)を白に設定 */
    border-left-color: white;
    border-right: none;
}
/* タイトル行の枠線の一部(外側)を黒に戻す設定 */
main table th:first-of-type {
    border-left-color: black;
}
main table th:last-of-type {
    border-right: 1px solid black;
}
/* テーブル内のラジオボタンの横幅を設定 */
.tbl_radio_width {
    width: 50px;
}
/* 標準のラジオボタンの余白を設定*/
input[type=radio] ~ label {
    /* 右余白を20pxに設定 */
    padding-right: 20px;
}
/* 標準のラジオボタンを非表示にする */
.radio_none {
    display: none;
}
/* ラジオボタンの各ラベル先頭に白丸を表示 */
/* ラジオボタン(先頭に丸印、チェックマーク無し) */
.lbl_circle {
    /* 後続の::after擬似要素の位置を調整するため、
       位置を相対位置指定に設定 */
    position: relative;
    /* 左余白(ボックス内)を50pxに設定 */
    padding-left: 50px;
}
.lbl_circle::after {
    /* 擬似要素に設定する文字列を空文字に設定 */
    content: "";
    /* 幅や高さを指定できるよう、ブロック要素に変更 */
    display: block;
    /* 各ラベル先頭の白丸の位置を絶対位置指定に
       設定し、配置位置を決める */
    position: absolute;
    top: 50%;
    left: 15px;
    margin-top: -10px;
    /* 横幅と高さを指定 */
    width: 16px;
    height: 16px;
    /* 境界線を正円に指定 */
    border-radius: 50%;
    /* 境界線を実線で指定 */
    border: 2px solid #888888;
}
/* ラジオボタンの各ラベル先頭にチェックマークを表示 */
/* ラジオボタン(先頭に丸印、チェックマーク有り) */
.lbl_checked {
    /* .lbl_circleと同じプロパティを指定 */
    position: relative;
    padding-left: 50px;
}
.lbl_checked::after {
    /* .lbl_circle::afterと同じプロパティを指定 */
    content: "";
    display: block;
    position: absolute;
    top: 50%;
    left: 15px;
    margin-top: -10px;
    width: 16px;
    height: 16px;
    border-radius: 50%;
    border: 2px solid #888888;
}
.lbl_checked::before {
    /* .lbl_checked::afterと同じプロパティを指定 start */
    content: "";
    display: block;
    position: absolute;
    top: 50%;
    border-radius: 50%;
    /* .lbl_checked::afterと同じプロパティを指定 end */
    /* 配置位置を決める */
    left: 20px;
    margin-top: -5px;
    /* 横幅と高さ・背景色を指定 */
    width: 10px;
    height: 10px;
    background: #000099;
}
/* ラジオボタンがオリジナルなレイアウトで動作するように設定 */
/* ラジオボタン(オリジナルなレイアウトで動作) */
.lbl_origin {
    /* .lbl_checkedと同じプロパティを指定 */
    position: relative;
    padding-left: 50px;
}
.lbl_origin::after {
    /* .lbl_checked::afterと同じプロパティを指定 */
    content: "";
    display: block;
    position: absolute;
    top: 50%;
    left: 15px;
    margin-top: -10px;
    width: 16px;
    height: 16px;
    border-radius: 50%;
    border: 2px solid #888888;
}
.lbl_origin::before {
    /* .lbl_checked::beforeと同じプロパティを指定 start */
    content: "";
    display: block;
    position: absolute;
    top: 50%;
    border-radius: 50%;
    left: 20px;
    margin-top: -5px;
    width: 10px;
    height: 10px;
    background: #000099;
    /* .lbl_checked::beforeと同じプロパティを指定 end */
    /* チェックマークを非表示にする */
    opacity: 0;
}
/* ラジオボタンが選択された場合に、チェックマークを設定 */
input[type=radio]:checked + .lbl_origin::before {
    /* チェックマークを表示する */
    opacity: 1;
}
/* ラジオボタンがテーブル内でオリジナルなレイアウトで動作するように設定 */
/* テーブル内のラジオボタン(オリジナルなレイアウトで動作) */
.lbl_tbl {
    /* .lbl_originと同じプロパティを指定 */
    /* padding-leftの値のみ変更 */
    position: relative;
    padding-left: 20px;
}
.lbl_tbl::after {
    /* .lbl_origin::afterと同じプロパティを指定 */
    /* leftの値のみ変更 */
    content: "";
    display: block;
    position: absolute;
    top: 50%;
    left: 10px;
    margin-top: -10px;
    width: 16px;
    height: 16px;
    border-radius: 50%;
    border: 2px solid #888888;
}
.lbl_tbl::before {
    /* .lbl_origin::afterと同じプロパティを指定 */
    /* leftの値のみ変更 */
    content: "";
    display: block;
    position: absolute;
    top: 50%;
    border-radius: 50%;
    left: 15px;
    margin-top: -5px;
    width: 10px;
    height: 10px;
    background: #000099;
    opacity: 0;
}
input[type=radio]:checked + .lbl_tbl::before {
    /* input[type=radio]:checked + .lbl_origin::beforeと
       同じプロパティを指定 */
    opacity: 1;
}
その他のソースコード内容は、以下のサイトを参照のこと。
https://github.com/purin-it/java/tree/master/spring-boot-css-radio-button/demo

「FlexClip」はテンプレートとして利用できる動画・画像・音楽などが充実した動画編集ツールだったテンプレートとして利用できるテキスト・動画・画像・音楽など(いずれも著作権フリー)が充実している動画編集ツールの一つに、「FlexCli...
サンプルプログラムの実行結果
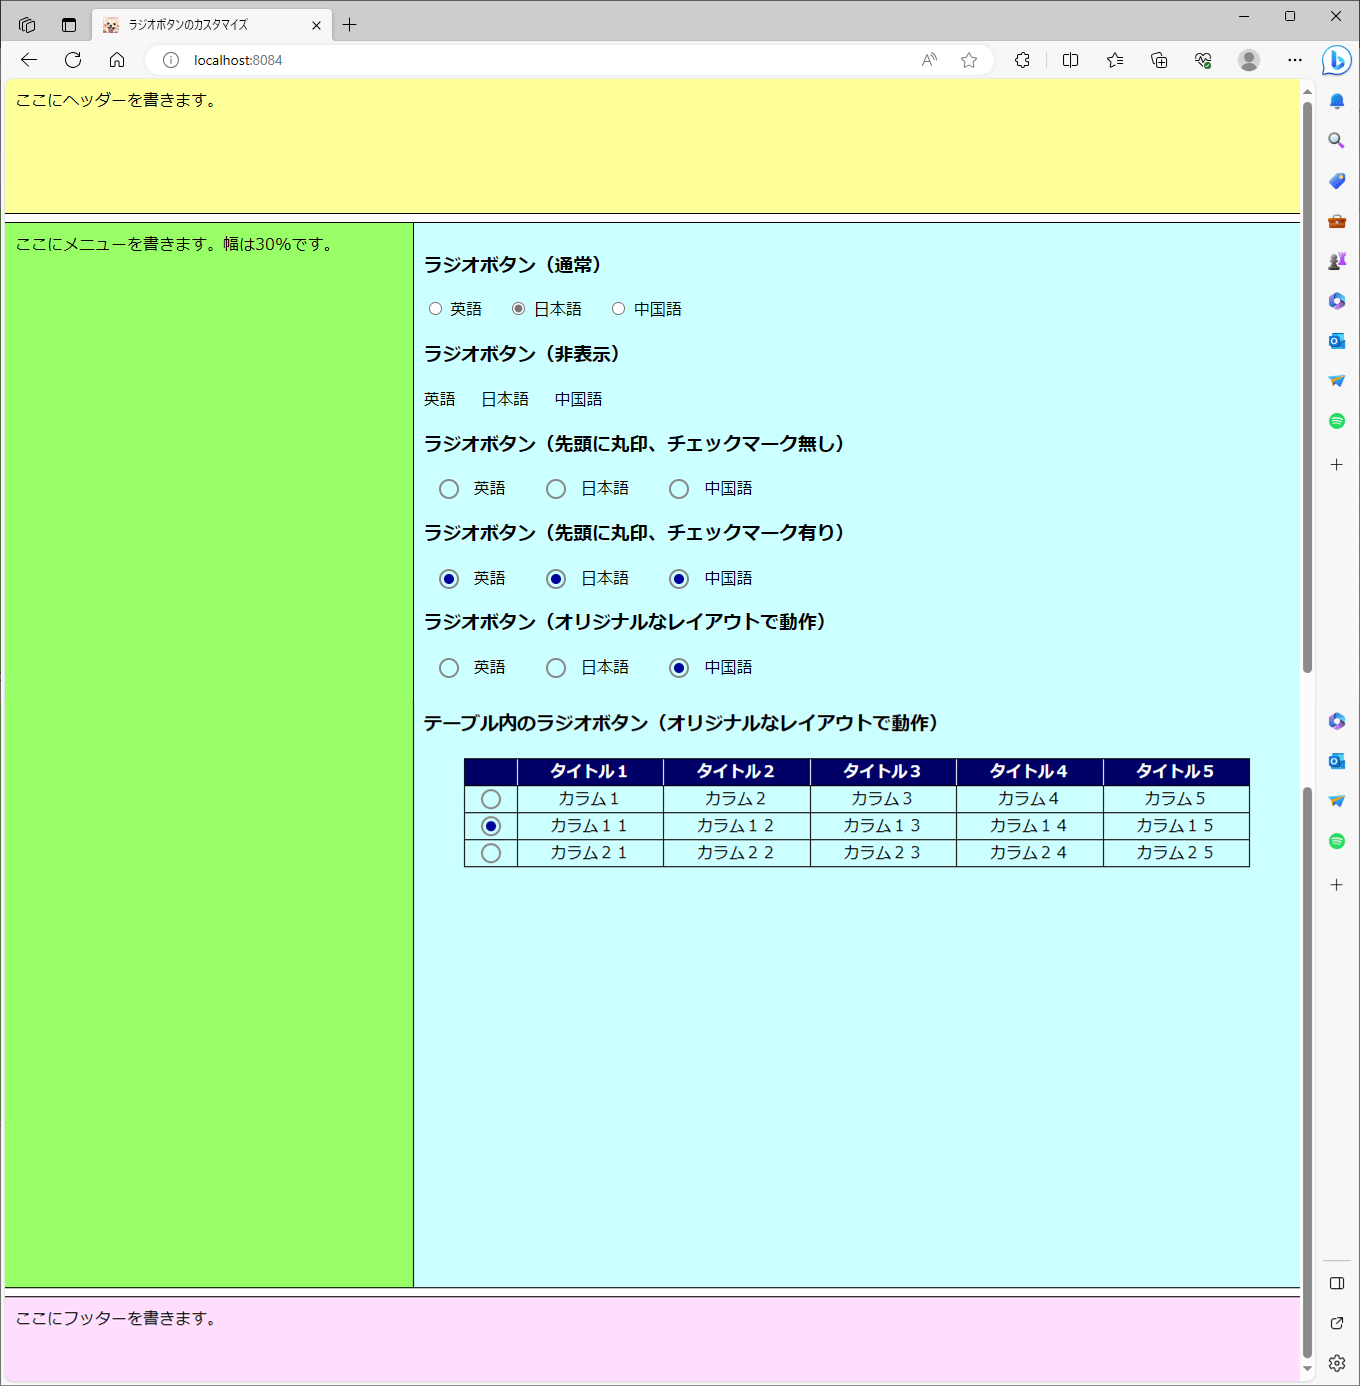
Spring Bootアプリケーションを起動し、Edge(バージョン:117.0.2045.41 )で「http:// (ホスト名):(ポート番号)」とアクセスした結果は、以下の通り。
1) 初期表示の結果は、以下の通り。

2)「ラジオボタン(通常)」「ラジオボタン(オリジナルなレイアウトで動作)」「テーブル内のラジオボタン(オリジナルなレイアウトで動作)」は、以下のように、ラジオボタンの位置を変更できる。
要点まとめ
- ラジオボタンは、inputタグのtype属性でtype=”radio”を指定することで作成されるが、このタグの標準スタイルは、CSSでオリジナルなレイアウトに変更できる。