Bootstrapは、WEBページでよく使われるフォーム、ボタン、メニューなどの部品がテンプレートとして用意されているフレームワークで、Bootstrapを利用すると、見栄えのいいWEBサイトを簡単に作成することができる。
今回は、作成済のSpring Bootアプリケーションを、Bootstrapでデザインしてみたので、そのサンプルプログラムを共有する。
なお、Bootstrapについては、以下のサイトを参照のこと。
https://www.sejuku.net/blog/7407
前提条件
下記記事の実装が完了していること。

サンプルプログラムの構成
作成したサンプルプログラムの構成は以下の通り。

なお、上記の赤枠は、前提条件のプログラムから追加・変更したプログラムである。
build.gradleの内容は以下の通りで、Bootstrapを利用するための設定を追加している。
plugins {
  id 'org.springframework.boot' version '2.1.7.RELEASE'
  id 'java'
}

apply plugin: 'io.spring.dependency-management'

group = 'com.example'
version = '0.0.1-SNAPSHOT'
sourceCompatibility = '1.8'

repositories {
  mavenCentral()
}

configurations {
  //log4j2を利用するため、Spring BootデフォルトのLogbackを利用しないよう設定
  all*.exclude module : 'spring-boot-starter-logging'
}

dependencies {
  implementation 'org.springframework.boot:spring-boot-starter-thymeleaf'
  implementation 'org.springframework.boot:spring-boot-starter-web'
  testImplementation 'org.springframework.boot:spring-boot-starter-test'
  compileOnly 'org.projectlombok:lombok:1.18.10'
  annotationProcessor 'org.projectlombok:lombok:1.18.10'
  compile files('lib/ojdbc6.jar')
  implementation 'org.mybatis.spring.boot:mybatis-spring-boot-starter:2.1.1'
  compile group: 'org.springframework.data', name: 'spring-data-commons-core', version: '1.1.0.RELEASE'
  //log4j2を利用するための設定
  compile group: 'org.apache.logging.log4j', name: 'log4j-api', version: '2.12.1'
  compile group: 'org.apache.logging.log4j', name: 'log4j-core', version: '2.12.1'
  //AOPを利用するための設定
  implementation 'org.springframework.boot:spring-boot-starter-aop'
  //log4j2の設定でymlファイルを利用するための設定
  compile group: 'com.fasterxml.jackson.dataformat', name: 'jackson-dataformat-yaml', version: '2.10.1'
  compile group: 'com.fasterxml.jackson.core', name: 'jackson-core', version: '2.10.1'
  compile group: 'com.fasterxml.jackson.core', name: 'jackson-databind', version: '2.10.1'
  //Apache Common JEXLを利用するための設定
  compile group: 'org.apache.commons', name: 'commons-jexl3', version: '3.0'
  //Bootstrapを利用するための設定
  implementation group: 'org.webjars', name: 'bootstrap', version: '5.1.3'
  implementation group: 'org.webjars', name: 'jquery', version: '3.6.0'
}
検索画面(search.html)の内容は以下の通りで、BootstrapのCSSファイル・JSファイルを読み込み、Bootstrapで使えるクラスを追加している。
<!DOCTYPE html>
<html lang="jp" xmlns:th="http://www.thymeleaf.org">
<head>
  <meta charset="UTF-8">
  <!-- Bootstrapの設定 -->
  <link th:href="@{/webjars/bootstrap/5.1.3/css/bootstrap.min.css}"
     rel="stylesheet" type="text/css" />
  <link th:href="@{/demo.css}" rel="stylesheet" type="text/css" />
  <title>検索画面</title>
</head>
<body>
  <!-- 画面サイズを画面幅いっぱい(container-fluid)とし、marginを上下左右に設定 -->
  <div class="container-fluid m-4">
    <p class="fs-4">検索条件を指定し、「検索」ボタンを押下してください。</p>
    <form method="post" th:action="@{/search}" th:object="${searchForm}">
      <!-- 2行エラーがある場合は、エラーメッセージを改行して表示 -->
      <span th:if="*{#fields.hasErrors('fromBirthYear')}"
        th:errors="*{fromBirthYear}" class="errorMessage"></span>
      <span th:if="*{#fields.hasErrors('fromBirthYear') "
           + "&& #fields.hasErrors('toBirthYear')}">
        <br/>
      </span>
      <span th:if="*{#fields.hasErrors('toBirthYear')}"
        th:errors="*{toBirthYear}" class="errorMessage"></span>
      <!-- 表の幅を、画面横幅の9/12の長さに設定 -->
      <div class="col-9">
        <!-- テーブルの枠線を非表示に設定 -->
        <table class="table table-borderless">
          <tr>
            <!-- 画面幅が広くなるにつれてラベルのサイズを狭める設定 -->
            <th class="col-md-4 col-lg-2">名前</th>
            <td><input type="text" th:value="*{searchName}"
               th:field="*{searchName}"/></td>
          </tr>
          <tr>
            <th>生年月日</th>
            <td><input type="text" th:value="*{fromBirthYear}" size="4"
              maxlength="4" th:field="*{fromBirthYear}" th:errorclass="fieldError"/>年
              <select th:field="*{fromBirthMonth}" th:errorclass="fieldError"
                th:classappend="${#fields.hasErrors('fromBirthYear')} ? 'fieldError'">
                <option value=""></option>
                <option th:each="item : ${@demoCodeMap.getMonthItems()}"
                    th:value="${item.key}" th:text="${item.value}"/>
              </select>月
              <select th:field="*{fromBirthDay}" th:errorclass="fieldError"
                th:classappend="${#fields.hasErrors('fromBirthYear')} ? 'fieldError'">
                <option value=""></option>
                <option th:each="item : ${@demoCodeMap.getDayItems()}"
                    th:value="${item.key}" th:text="${item.value}"/>
              </select>日~
              <input type="text" th:value="*{toBirthYear}" size="4"
                maxlength="4" th:field="*{toBirthYear}" th:errorclass="fieldError"/>年
              <select th:field="*{toBirthMonth}" th:errorclass="fieldError"
                th:classappend="${#fields.hasErrors('toBirthYear')} ? 'fieldError'">
                <option value=""></option>
                <option th:each="item : ${@demoCodeMap.getMonthItems()}"
                    th:value="${item.key}" th:text="${item.value}"/>
              </select>月
              <select th:field="*{toBirthDay}" th:errorclass="fieldError"
                  th:classappend="${#fields.hasErrors('toBirthYear')} ? 'fieldError'">
                <option value=""></option>
                <option th:each="item : ${@demoCodeMap.getDayItems()}"
                    th:value="${item.key}" th:text="${item.value}"/>
              </select>日
            </td>
          </tr>
          <tr>
            <th>性別</th>
            <td>
              <select th:field="*{searchSex}">
                <option value=""></option>
                <option th:each="item : ${@demoCodeMap.getSexItems()}"
                    th:value="${item.key}" th:text="${item.value}"/>
              </select>
            </td>
          </tr>
        </table>
      </div>
      <br/><br/>
      <!-- ボタンの色を青色に設定 -->
      <input type="submit" value="検索" class="btn btn-primary"/><br/><br/>
      <input type="button" value="閉じる" onclick="window.close();"
         class="btn btn-primary"/>
    </form>
  </div>
  <!-- Bootstrapの設定 -->
  <script th:src="@{/webjars/jquery/3.6.0/jquery.min.js}"></script>
  <script th:src="@{/webjars/bootstrap/5.1.3/js/bootstrap.min.js}"></script>
</body>
</html>
その他のHTMLファイルについても、検索画面と同じような修正を行っている。 そのソースコード内容は、以下のサイトを参照のこと。
https://github.com/purin-it/java/tree/master/spring-boot-bootstrap/demo

サンプルプログラムの実行
サンプルプログラムの実行結果は以下の通りで、各画面がBootstrapでデザインされていることが確認できる。
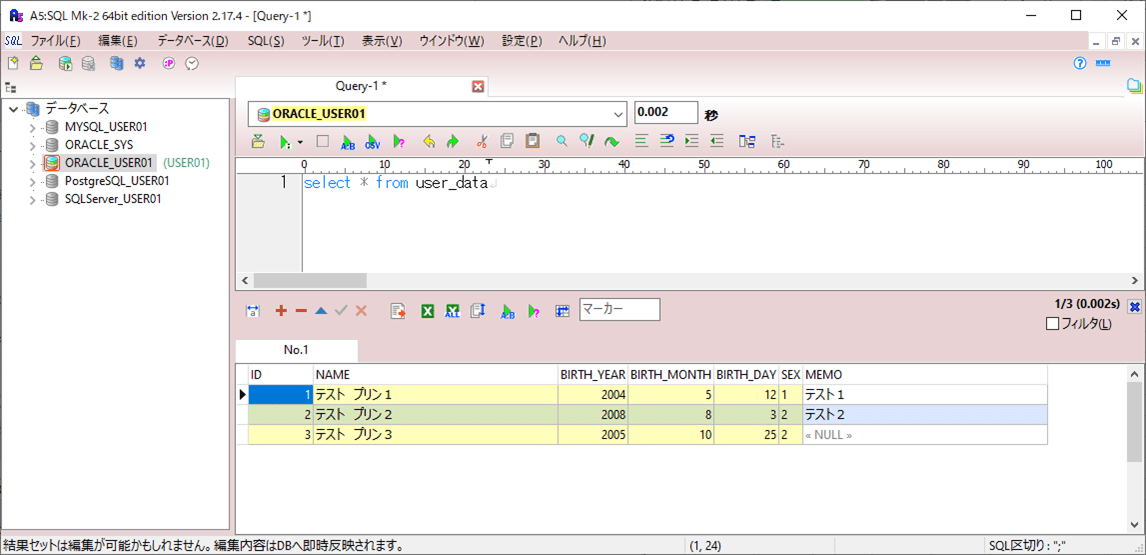
1) 実行前のuser_dataテーブルの中身は、以下の通り。
select * from user_data
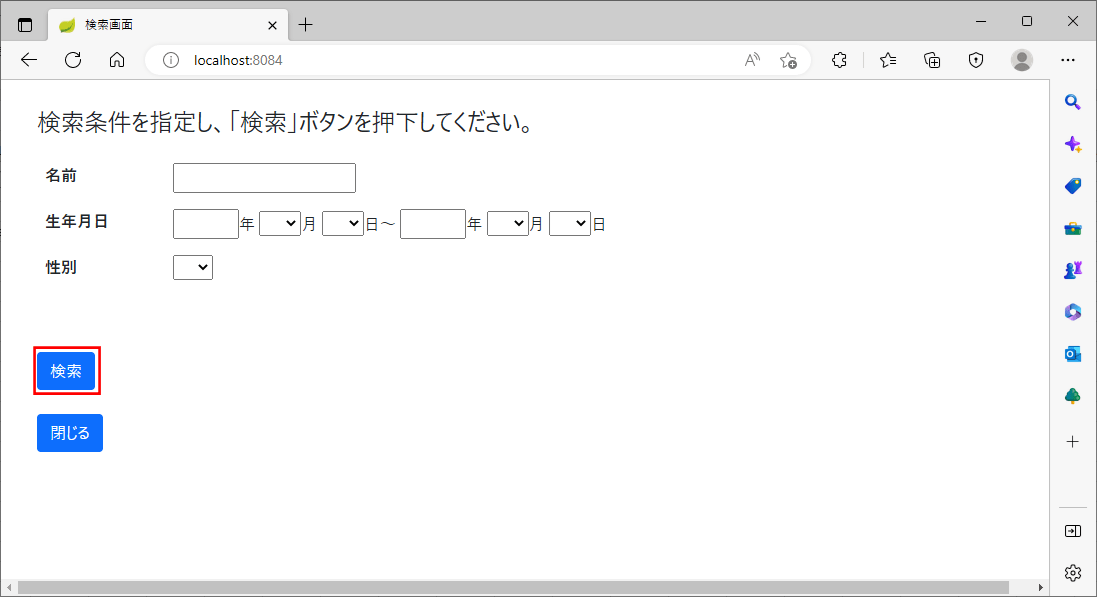
2) Spring Bootアプリケーションを起動し、「http:// (ホスト名):(ポート番号)」とアクセスした場合の初期表示は以下の通りなので、そのまま「検索」ボタンを押下する。
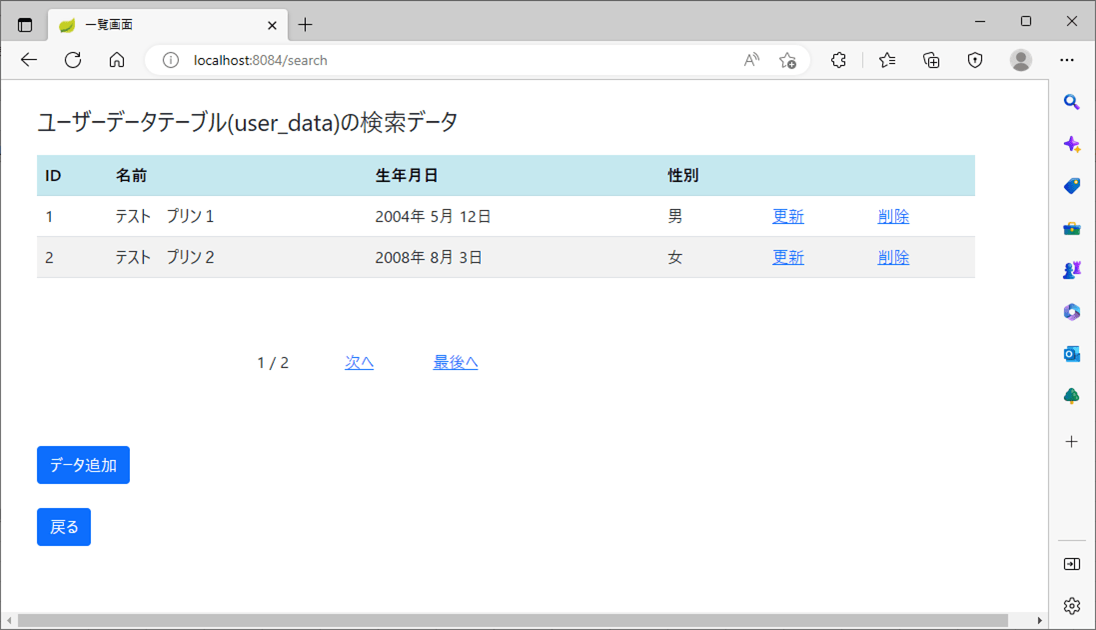
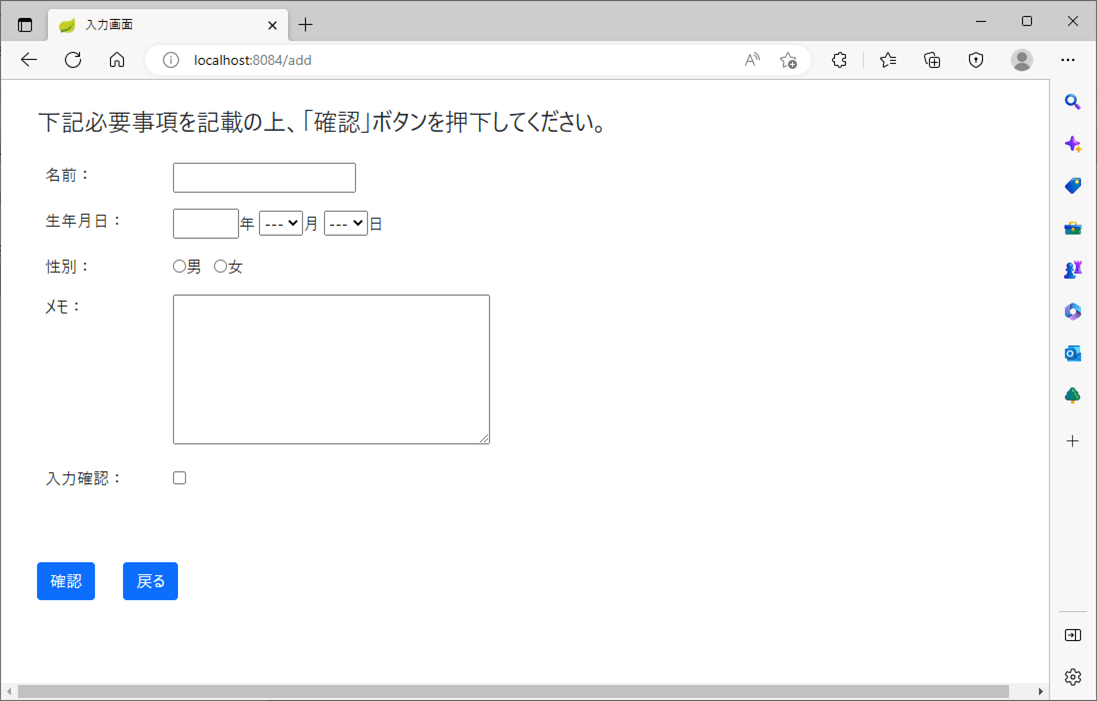
3) 上記画面で「データ追加」ボタンを押下すると、以下のように、入力画面(input.html)が表示されることが確認できる。
4) 入力画面(input.html)でエラーが発生した場合のレイアウトは、以下の通り。
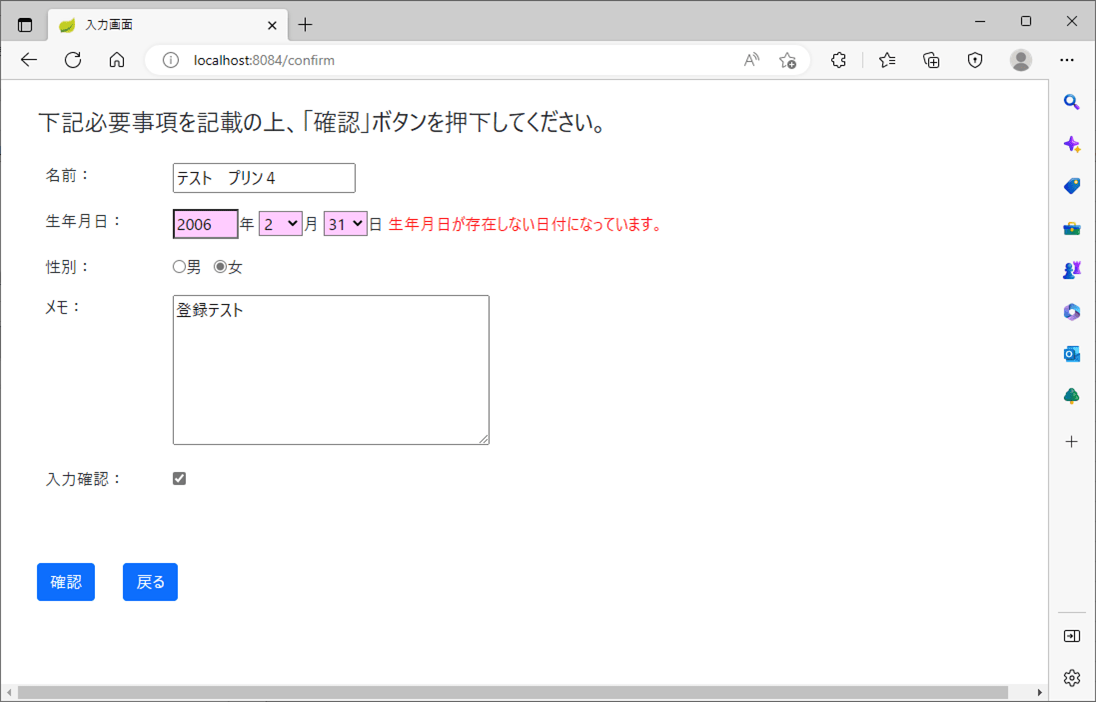
5) 確認画面(confirm.html)のレイアウトは、以下の通り。
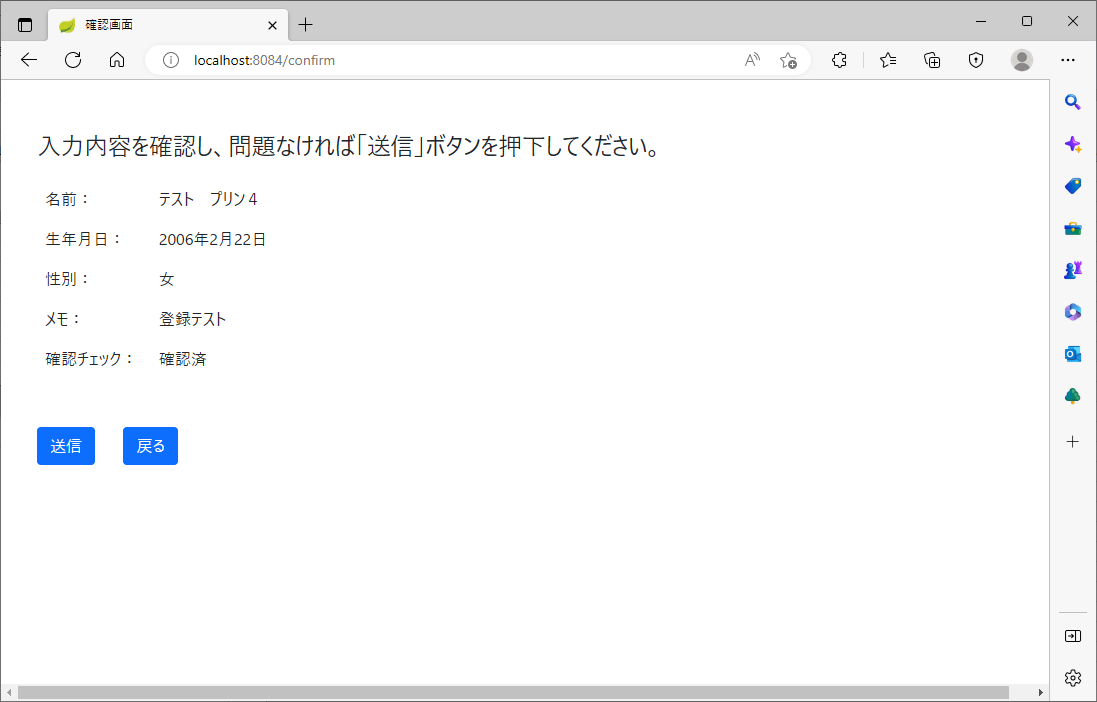
6) 完了画面(complete.html)のレイアウトは、以下の通り。
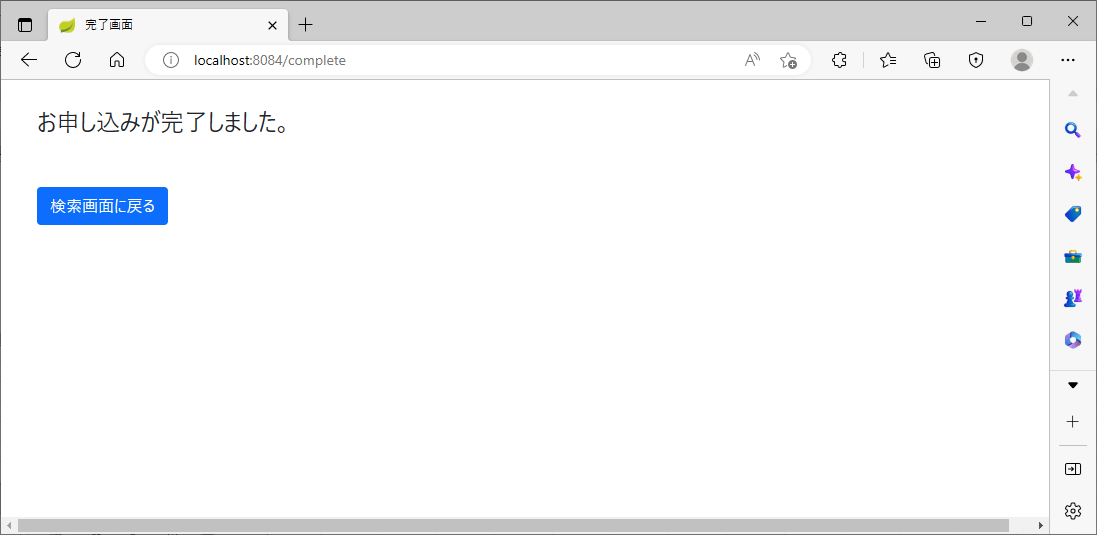
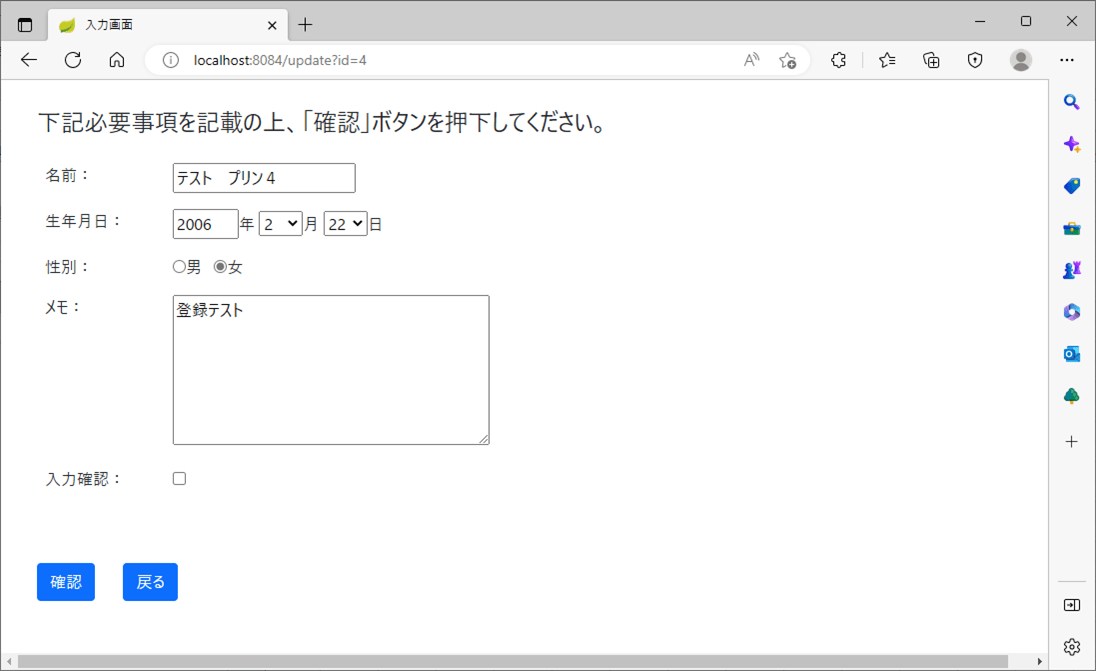
7) 一覧画面(list.html)で、ID=4の「更新」リンクを押下すると、以下のように、該当するデータが入力画面に表示されることが確認できる。
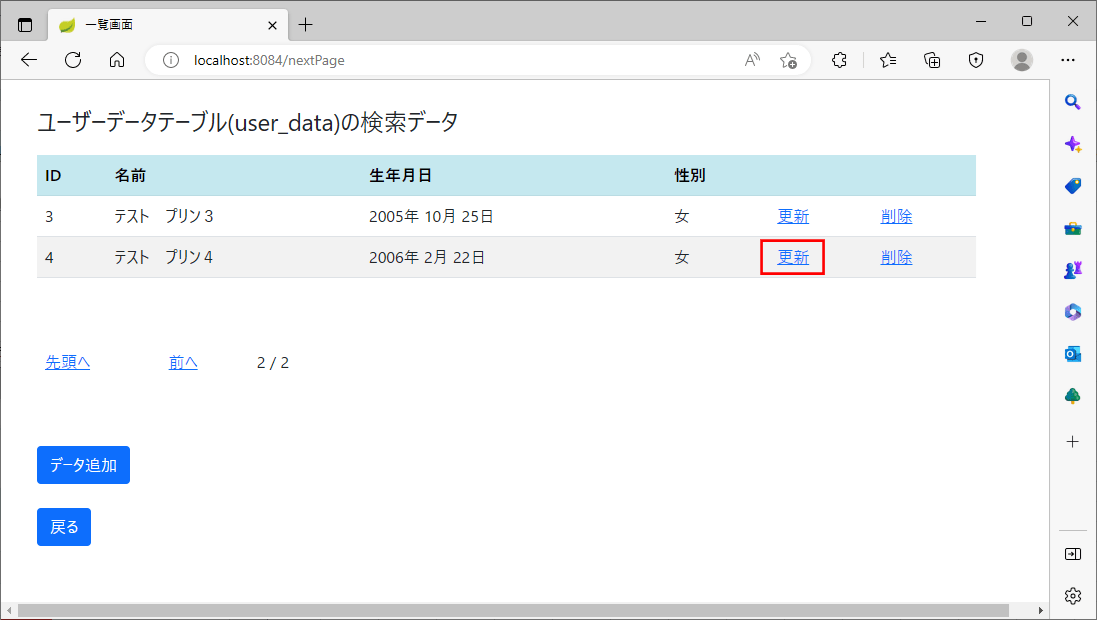
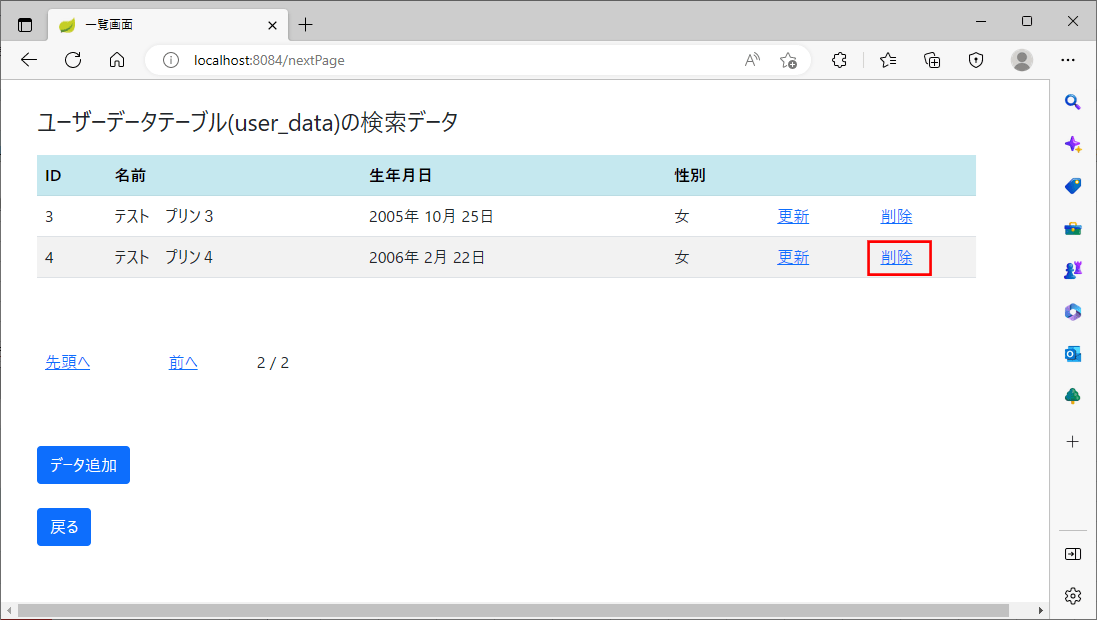
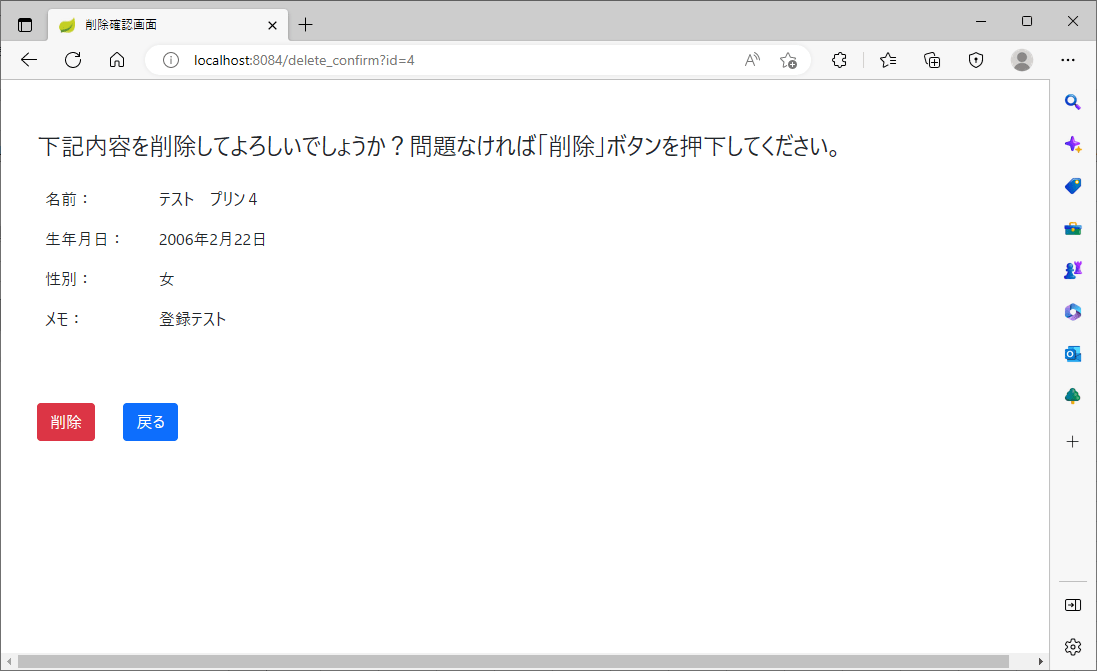
8) 一覧画面(list.html)で、ID=4の「削除」リンクを押下すると、以下のように、該当するデータが削除確認画面に表示されることが確認できる。
要点まとめ
- Bootstrapは、WEBページでよく使われるフォーム、ボタン、メニューなどの部品がテンプレートとして用意されているフレームワークで、Bootstrapを利用すると、見栄えのいいWEBサイトを簡単に作成することができる。
- Spring Bootアプリケーションでも、ライブラリを追加することにより、Bootstrapを利用できる。


