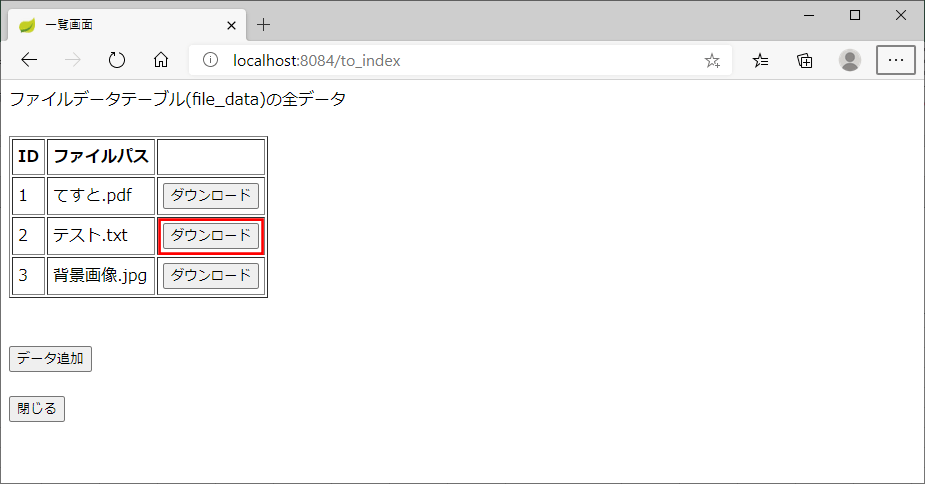
前回は、Sping BootのWEB画面上で、ファイルアップロード・ファイルダウンロード機能について記載したが、今回は、PDFの場合のみPDFプレビューを行うようにしたので、そのサンプルプログラムを共有する。
前提条件
下記記事の実装が完了していること。

Spring BootのWEB画面上でファイルアップロード・ダウンロード機能を実装してみた(ソースコード編)今回も引き続き、ファイルアップロード・ダウンロード機能の実装について述べる。ここでは、具体的なサンプルプログラムのソースコードを共有する...
完成イメージ
ここでは、完成した画面イメージの共有を行う。
Spring Bootアプリケーションを起動し、「http:// (ホスト名):(ポート番号)」とアクセスした場合の初期表示は以下の通りとする。
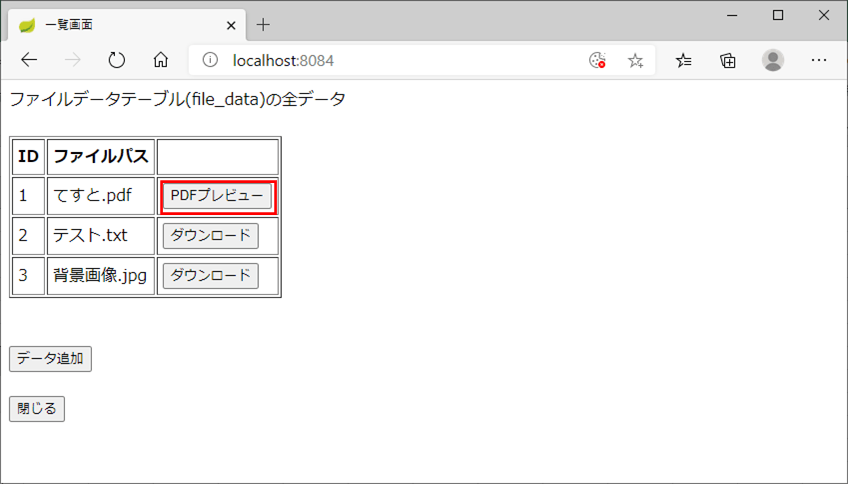
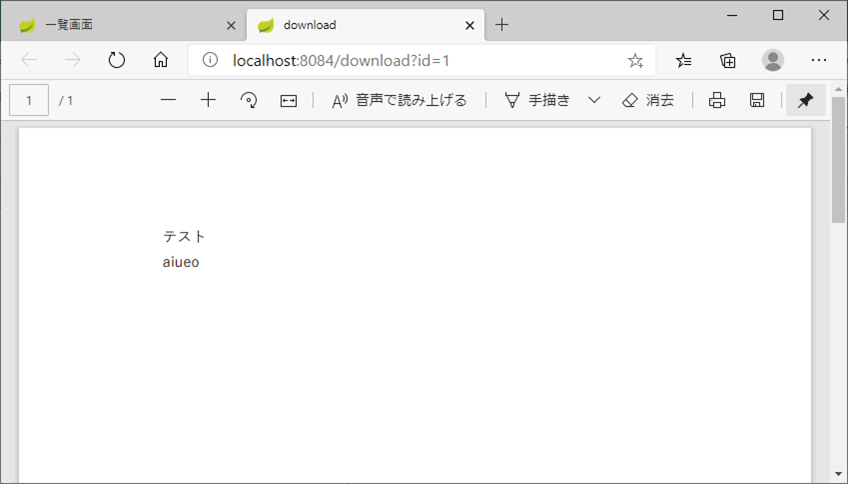
「PDFプレビュー」ボタンを押下すると、以下のように、別画面にPDFプレビュー画面が表示される。
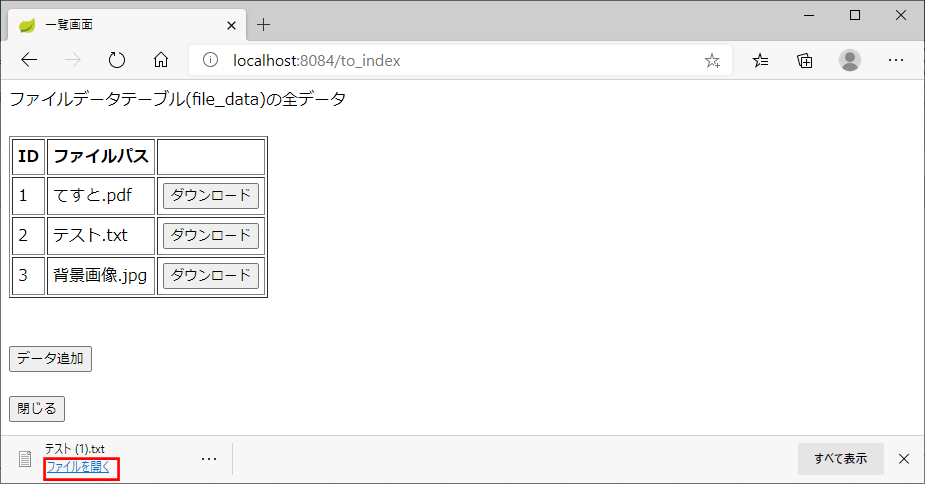
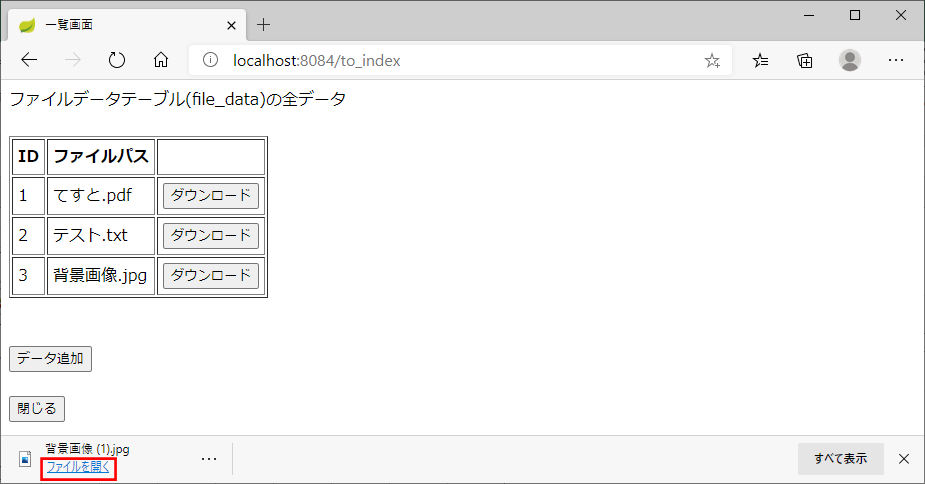
作成したサンプルプログラムの内容
作成したサンプルプログラムの構成は以下の通り。なお、下図の赤枠は、前提条件に記載した記事と変更になったソースコードを示しており、今後記載する。
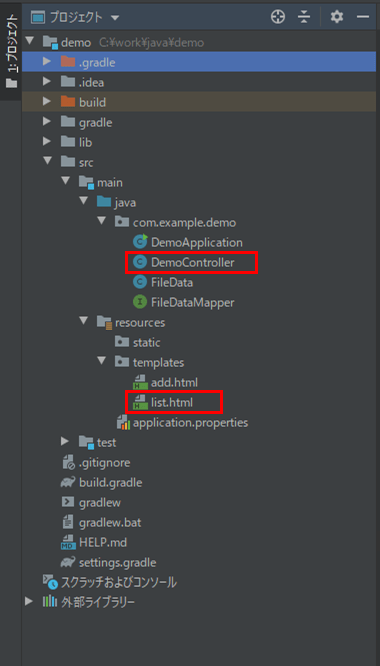
一覧画面を表示するプログラムは以下の通り。PDFの場合は「PDFプレビュー」ボタンを、それ以外の場合は「ダウンロード」ボタンを表示するようにしている。PDFの場合は、window.open関数を呼んでいて、新規画面を開くようにしている。
<!DOCTYPE html>
<html lang="ja" xmlns:th="http://www.thymeleaf.org">
<head>
    <meta charset="UTF-8">
    <title>一覧画面</title>
</head>
<body>
ファイルデータテーブル(file_data)の全データ<br/><br/>

<table border="1" cellpadding="5">
    <tr>
        <th>ID</th>
        <th>ファイルパス</th>
        <th></th>
    </tr>
    <tr th:each="obj : ${fileDataList}">
        <td th:text="${obj.id}"></td>
        <td th:text="${obj.filePath}"></td>
        <td>
            <!-- ダウンロードボタンを表示 -->
            <!-- PDFファイルの場合 -->
            <div th:if=${#strings.endsWith(obj.filePath,'.pdf')}>
                <input type="button" value="PDFプレビュー"
                       th:onclick="'window.open(\'/download?id='
                             + ${obj.id} + '\', target=\'_blank\');'" />
            </div>
            <!-- PDFファイル以外の場合 -->
            <div th:unless=${#strings.endsWith(obj.filePath,'.pdf')}>
                <form action="#" method="get"
                      th:action="@{/download(id=${'__${obj.id}__'})}"
                      th:method="download" >
                    <input type="hidden" name="_method" value="download" />
                    <input type="submit" value="ダウンロード" />
                </form>
            </div>
        </td>
    </tr>
</table>
<br/><br/>
<form method="post" th:action="@{/to_add}">
    <input type="submit" value="データ追加" /><br/><br/>
    <input type="button" value="閉じる" onclick="window.close();" />
</form>
</body>
</html>
さらに、ダウンロード処理を含むコントローラクラスのプログラムは以下の通り。downloadメソッドが変更点である。PDFとそれ以外で処理を分け、PDFの場合は、ContentTypeを「application/pdf」に設定し「Content-Disposition」をinlineにすることで、(新しく開いた画面に)PDFプレビュー画面を開くようにしている。
package com.example.demo;

import org.springframework.beans.factory.annotation.Autowired;
import org.springframework.stereotype.Controller;
import org.springframework.ui.Model;
import org.springframework.web.bind.annotation.GetMapping;
import org.springframework.web.bind.annotation.PostMapping;
import org.springframework.web.bind.annotation.RequestMapping;
import org.springframework.web.bind.annotation.RequestParam;
import org.springframework.web.multipart.MultipartFile;
import org.springframework.transaction.annotation.Transactional;
import javax.servlet.http.HttpServletResponse;
import java.io.File;
import java.io.InputStream;
import java.io.OutputStream;
import java.net.URLEncoder;
import java.util.List;

@Controller
public class DemoController {

    /**
     * ファイルデータテーブル(file_data)へアクセスするMapper
     */
    @Autowired
    private FileDataMapper fileDataMapper;

    /**
     * ファイルデータ一覧表示処理
     * @param model Modelオブジェクト
     * @return 一覧画面
     */
    @RequestMapping("/")
    public String index(Model model){
        //ファイルデータテーブル(file_data)を全件取得
        List<FileData> list = fileDataMapper.findAll();
        model.addAttribute("fileDataList", list);

        //一覧画面へ移動
        return "list";
    }

    /**
     * ファイルデータ登録画面への遷移処理
     * @return ファイルデータ登録画面
     */
    @PostMapping("/to_add")
    public String to_add(){
        return "add";
    }

    /**
     * ファイルデータ登録処理
     * @param uploadFile アップロードファイル
     * @return ファイルデータ一覧表示処理
     */
    @PostMapping("/add")
    @Transactional(readOnly = false)
    public String add(@RequestParam("upload_file") MultipartFile uploadFile){
        //最大値IDを取得
        long maxId = fileDataMapper.getMaxId();

        //追加するデータを作成
        FileData fileData = new FileData();
        fileData.setId(maxId + 1);
        fileData.setFilePath(uploadFile.getOriginalFilename());
        try{
            fileData.setFileObj(uploadFile.getInputStream());
        }catch(Exception e){
            System.err.println(e);
        }
        //1件追加
        fileDataMapper.insert(fileData);

        //一覧画面へ遷移
        return "redirect:/to_index";
    }

    /**
     * 追加完了後に一覧画面に戻る
     * @param model Modelオブジェクト
     * @return 一覧画面
     */
    @GetMapping("/to_index")
    public String toIndex(Model model){
        return index(model);
    }

    /**
     * ファイルダウンロード処理
     * @param id ID
     * @param response HttpServletResponse
     * @return 画面遷移先
     */
    @RequestMapping("/download")
    public String download(@RequestParam("id") String id
            , HttpServletResponse response){
        //ダウンロード対象のファイルデータを取得
        FileData data = fileDataMapper.findById(Long.parseLong(id));

        //ダウンロード対象のファイルデータがnullの場合はエラー画面に遷移
        if(data == null || data.getFileObj() == null){
            return "download_error";
        }

        //PDFの場合
        if(data.getFilePath().endsWith(".pdf")){
            //PDFプレビューの設定を実施
            response.setContentType("application/pdf");
            response.setHeader("Content-Disposition", "inline;");
        }else{
            //ファイルダウンロードの設定を実施
            //ファイルの種類は指定しない
            response.setContentType("application/octet-stream");
            response.setHeader("Content-Disposition"
                 ,"attachment;filename=\"" + getFileName(data.getFilePath()) + "\"");
        }
        //その他の設定を実施
        response.setHeader("Cache-Control", "private");
        response.setHeader("Pragma", "");

        try(OutputStream out = response.getOutputStream();
            InputStream in = data.getFileObj()){
            byte[] buff = new byte[1024];
            int len = 0;
            while ((len = in.read(buff, 0, buff.length)) != -1) {
                out.write(buff, 0, len);
            }
            out.flush();
        }catch(Exception e){
            System.err.println(e);
        }

        //画面遷移先はnullを指定
        return null;
    }

    /**
     * ファイルパスからファイル名を取得する
     * @param filePath ファイルパス
     * @return ファイル名
     */
    private String getFileName(String filePath){
        String fileName = "";
        if(filePath != null && !"".equals(filePath)){
            try{
                //ファイル名をUTF-8でエンコードして指定
                fileName = URLEncoder.encode(new File(filePath).getName(), "UTF-8");
            }catch(Exception e){
                System.err.println(e);
                return "";
            }
        }
        return fileName;
    }

}
その他のソースコード内容は、以下のサイトを参照のこと。
https://github.com/purin-it/java/tree/master/spring-boot-pdf-preview/demo
要点まとめ
- ContentTypeを「application/pdf」に設定し、「Content-Disposition」をinlineにすることで、PDFプレビュー表示が行える。
